K1100 Rebuild
It started as a quick rebuild and turned into custom wiring, engine measurements, refreshed parts, and a much longer project than planned.
Chief flashlight holder
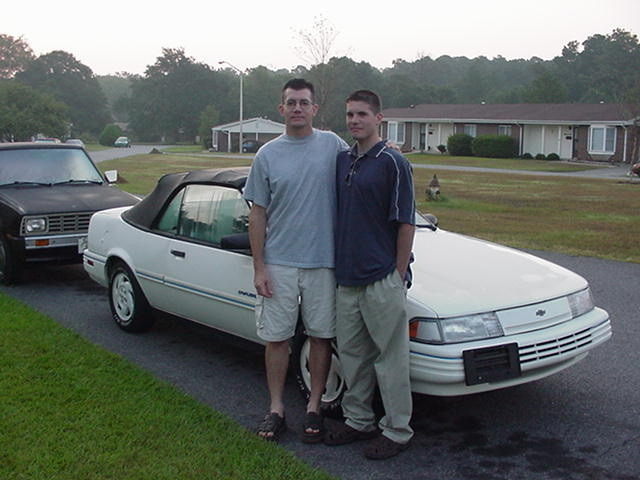
When I was about thirteen, my dad received an old truck from his father. The plan was to rebuild it, drive it for a while, and eventually hand it down as my first vehicle.
I would like to say I played an essential role in that rebuild. In reality, I was mostly chief flashlight holder.
Years later, while scrolling through Facebook Marketplace for an interesting project, I found a BMW K1100 near the top of the listings. I wasn't looking specifically for a motorcycle. It had recently been reduced to $1,000, but it had no wheels and was missing enough pieces that a sensible person might have kept scrolling.
I messaged the seller immediately.
I committed to a pickup time before figuring out how to transport it. Four people helped load it into a rented U-Haul. Later, a friend and I attempted to unload it with a four-wheel furniture dolly. Not exactly elegant, but possibly a bonding experience.
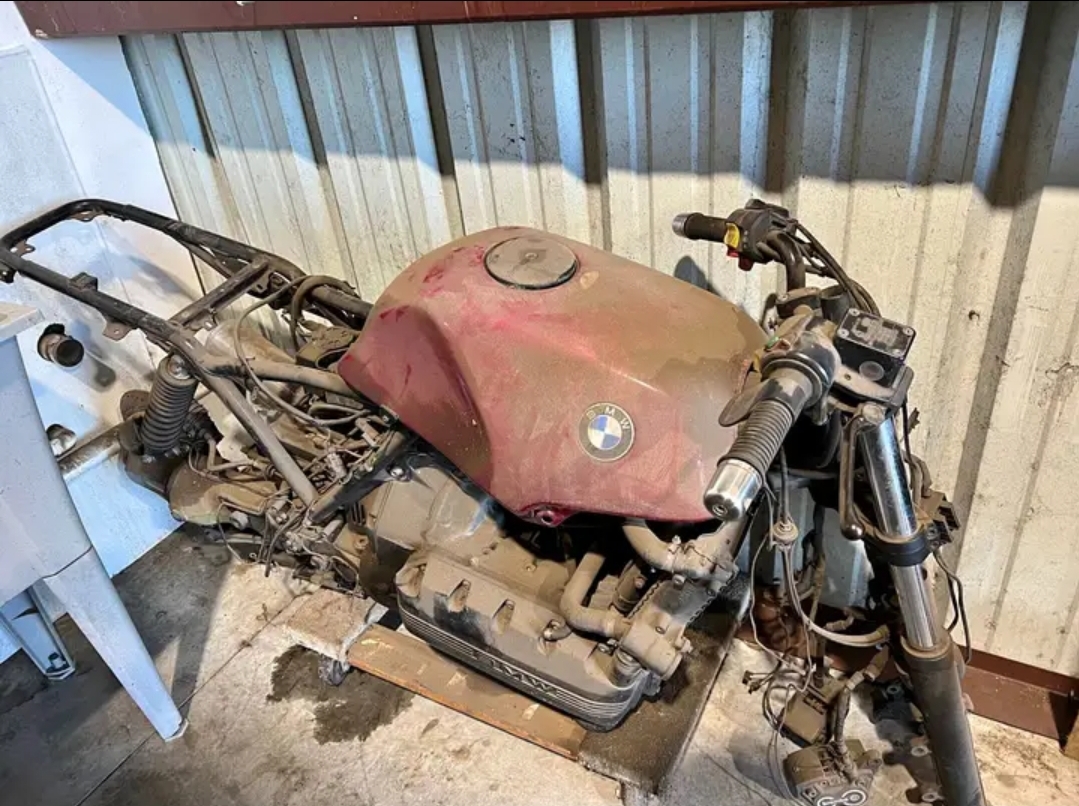
The seller said it had been running when parked, so the idea was simple: clean it up, replace a few missing parts, get it running, and enjoy it.
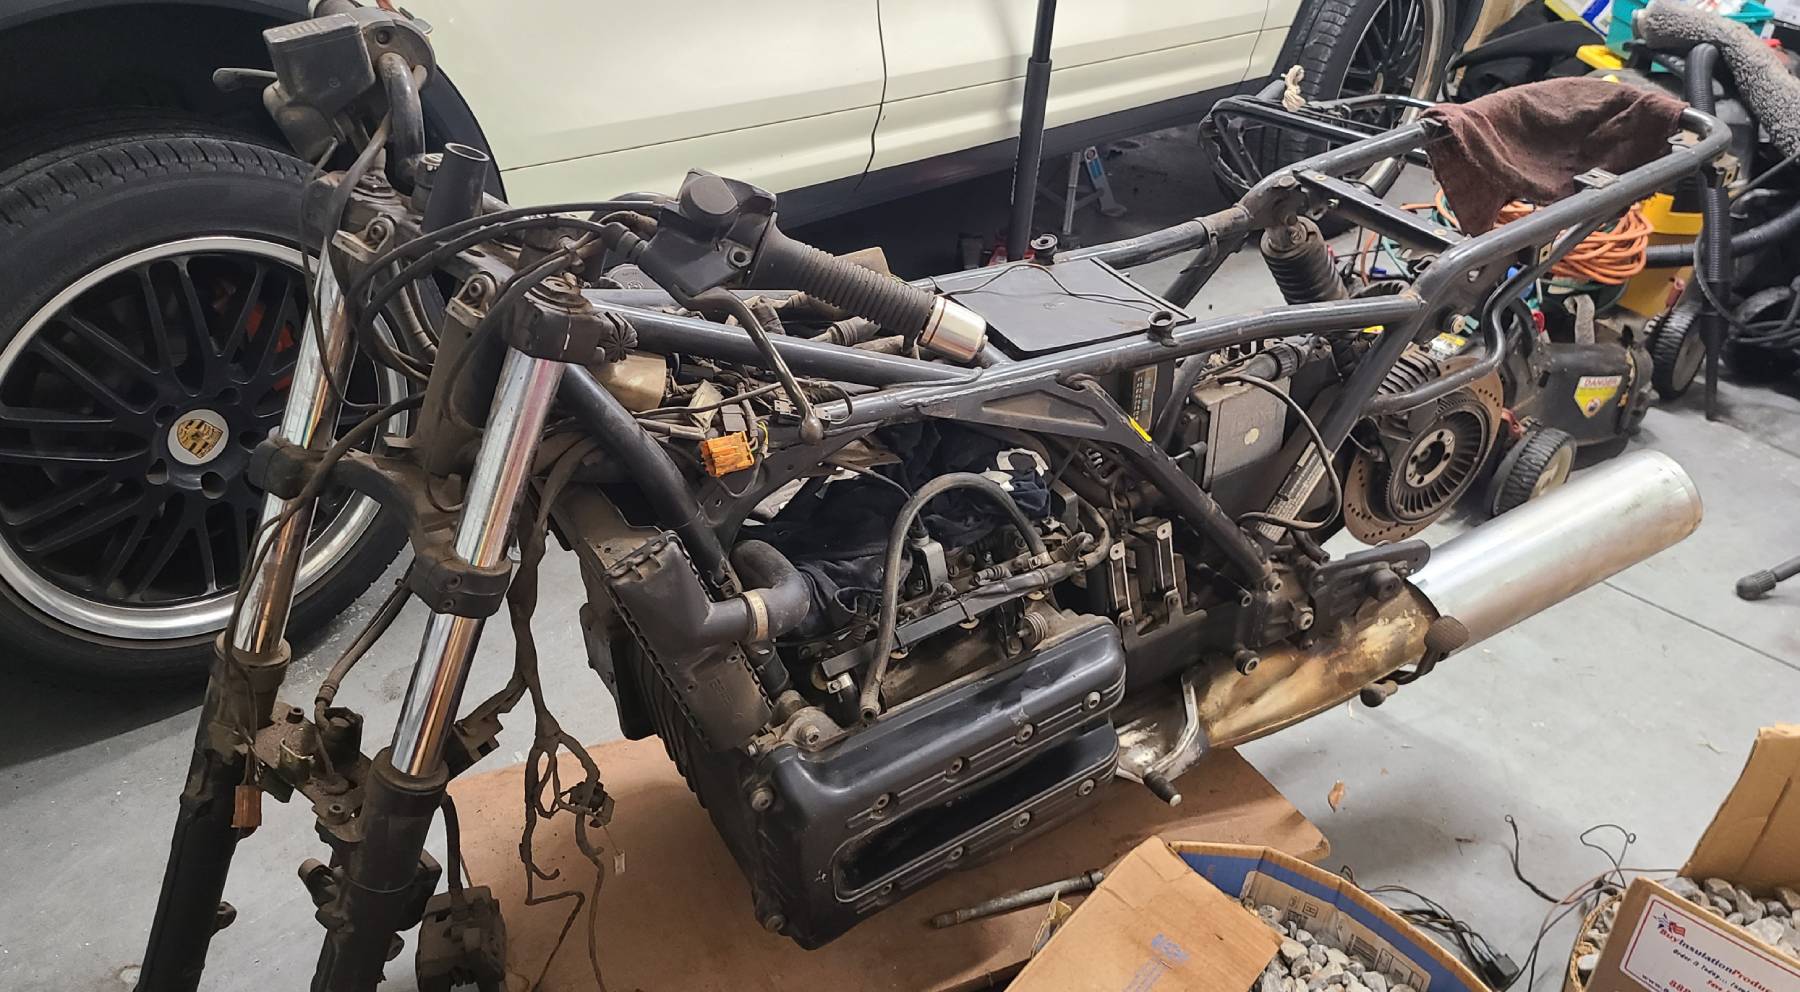
Then I started taking inventory. No wheels. No ECU. No brakes. No airbox. No gauges. That was only the beginning. The quick rebuild was over before it started.
One decision led to another
Once I understood how much was missing, returning it to stock no longer felt like the obvious choice. The PowerBrick rear subframe suggested a different shape, but choosing it meant rethinking the rest of the bike instead of treating each replacement part as a separate purchase.
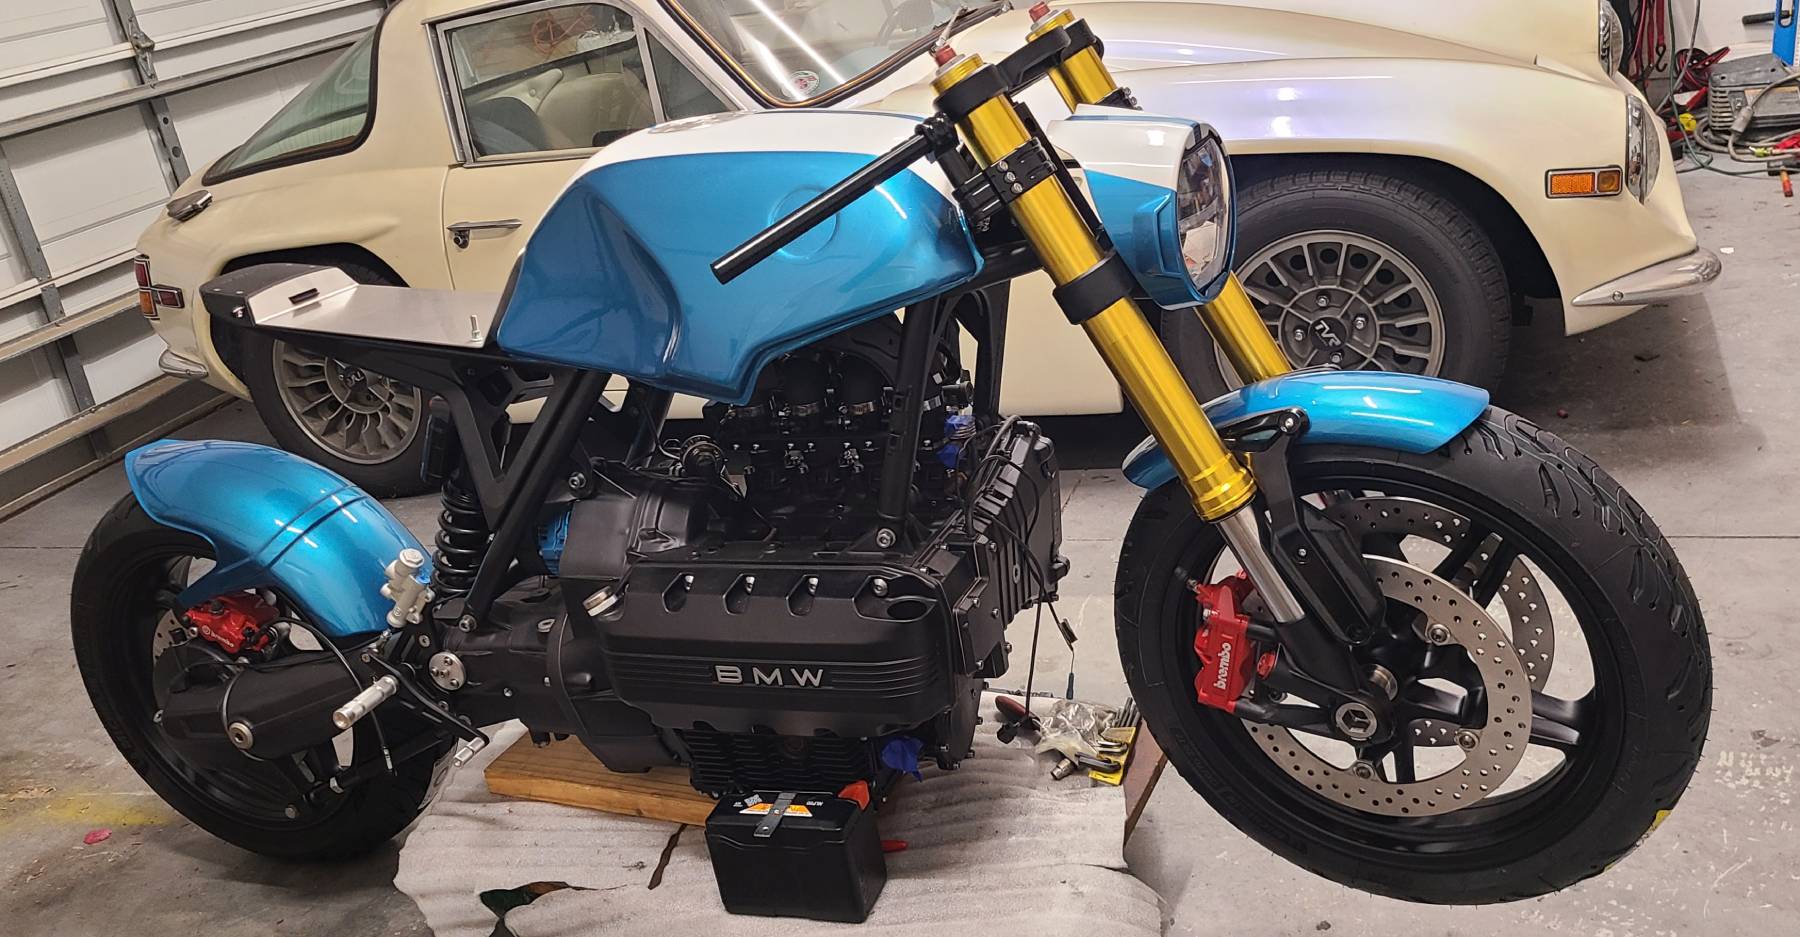
The result was a mix of S1000RR front suspension and brakes, K1200 wheels and fuel-system pieces, R1100-series rear components, Motogadget electronics, and Frando controls. Each choice had consequences for fitment, wiring, braking, or packaging. The problem wasn't finding interesting parts. It was getting them to act like one motorcycle.
That was the big-picture stuff. At the other end of the scale, I was taking apart things like the starter and alternator for proper refreshes. The starter makes a pretty good before-and-after on its own.
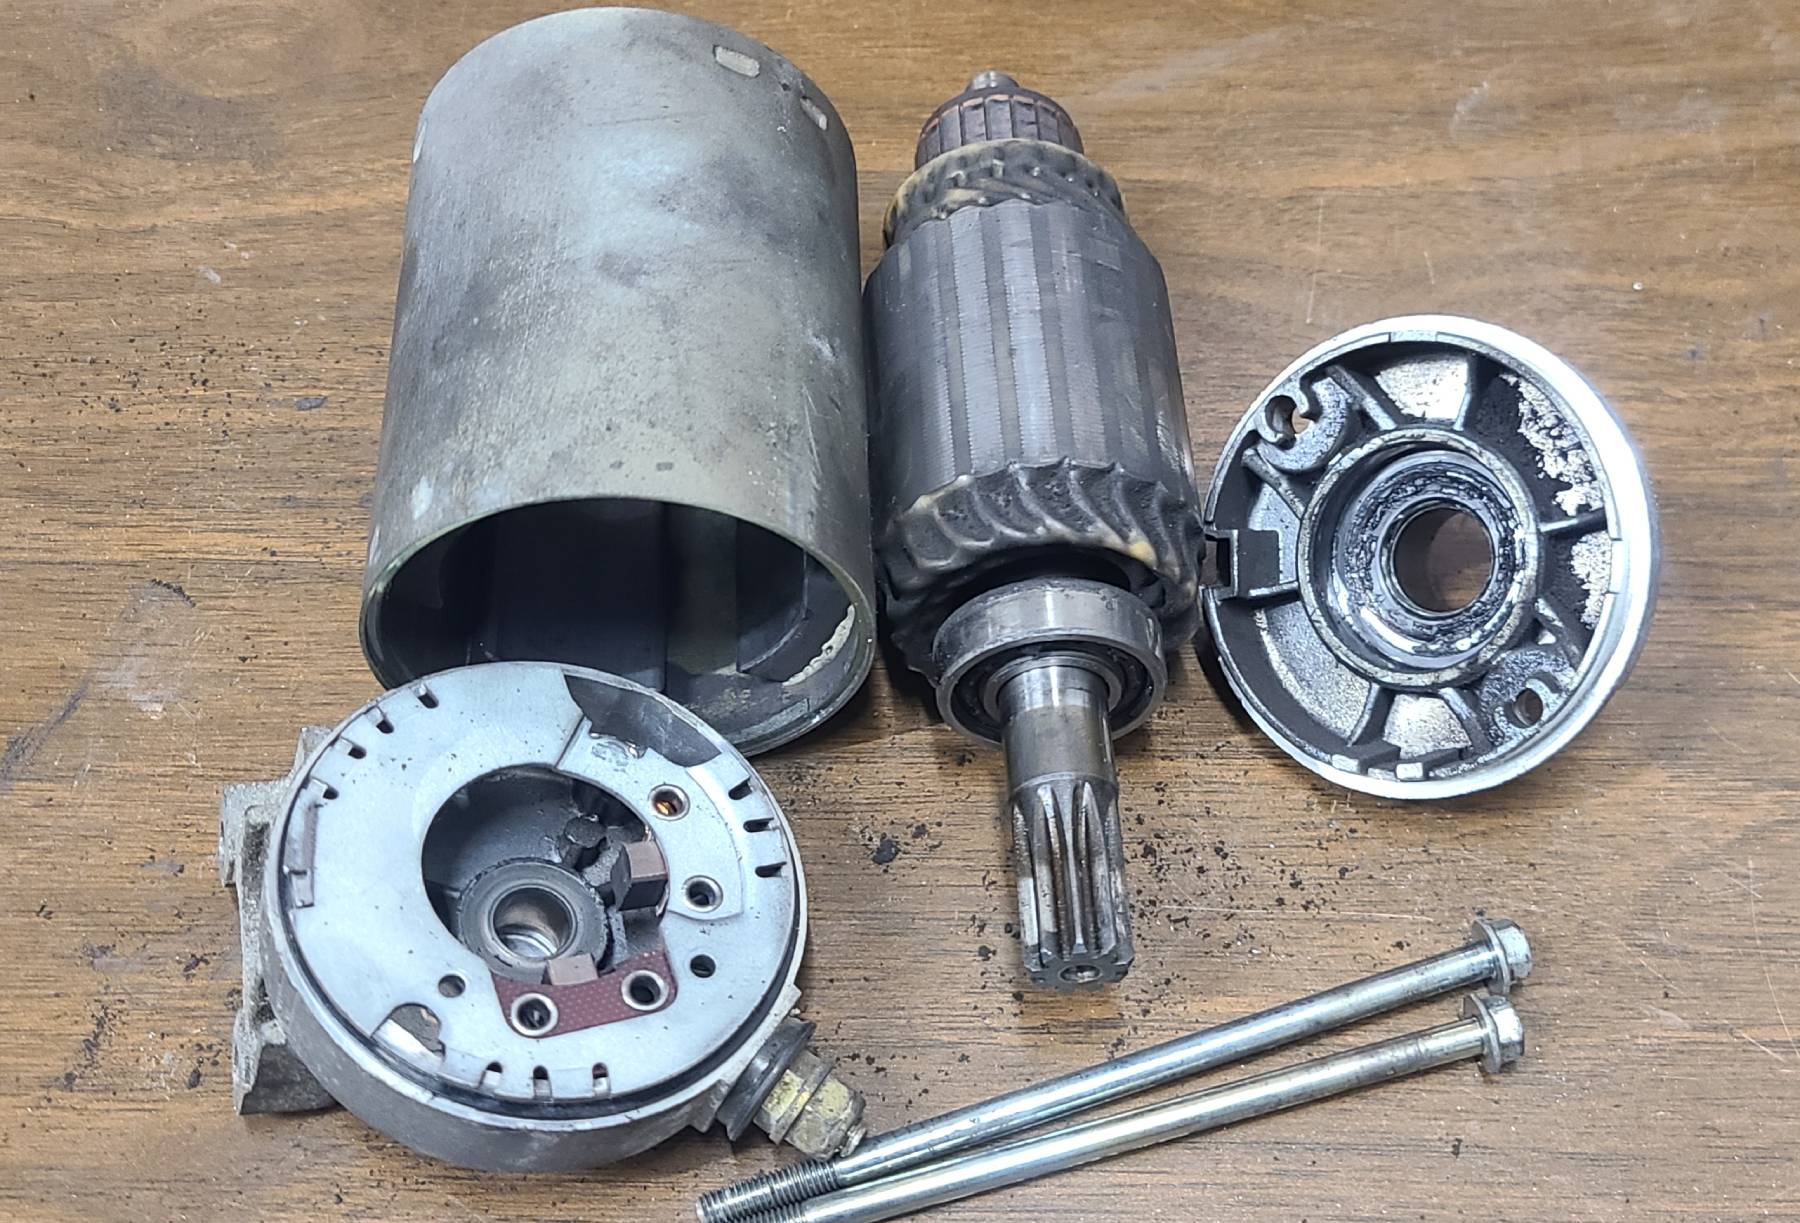
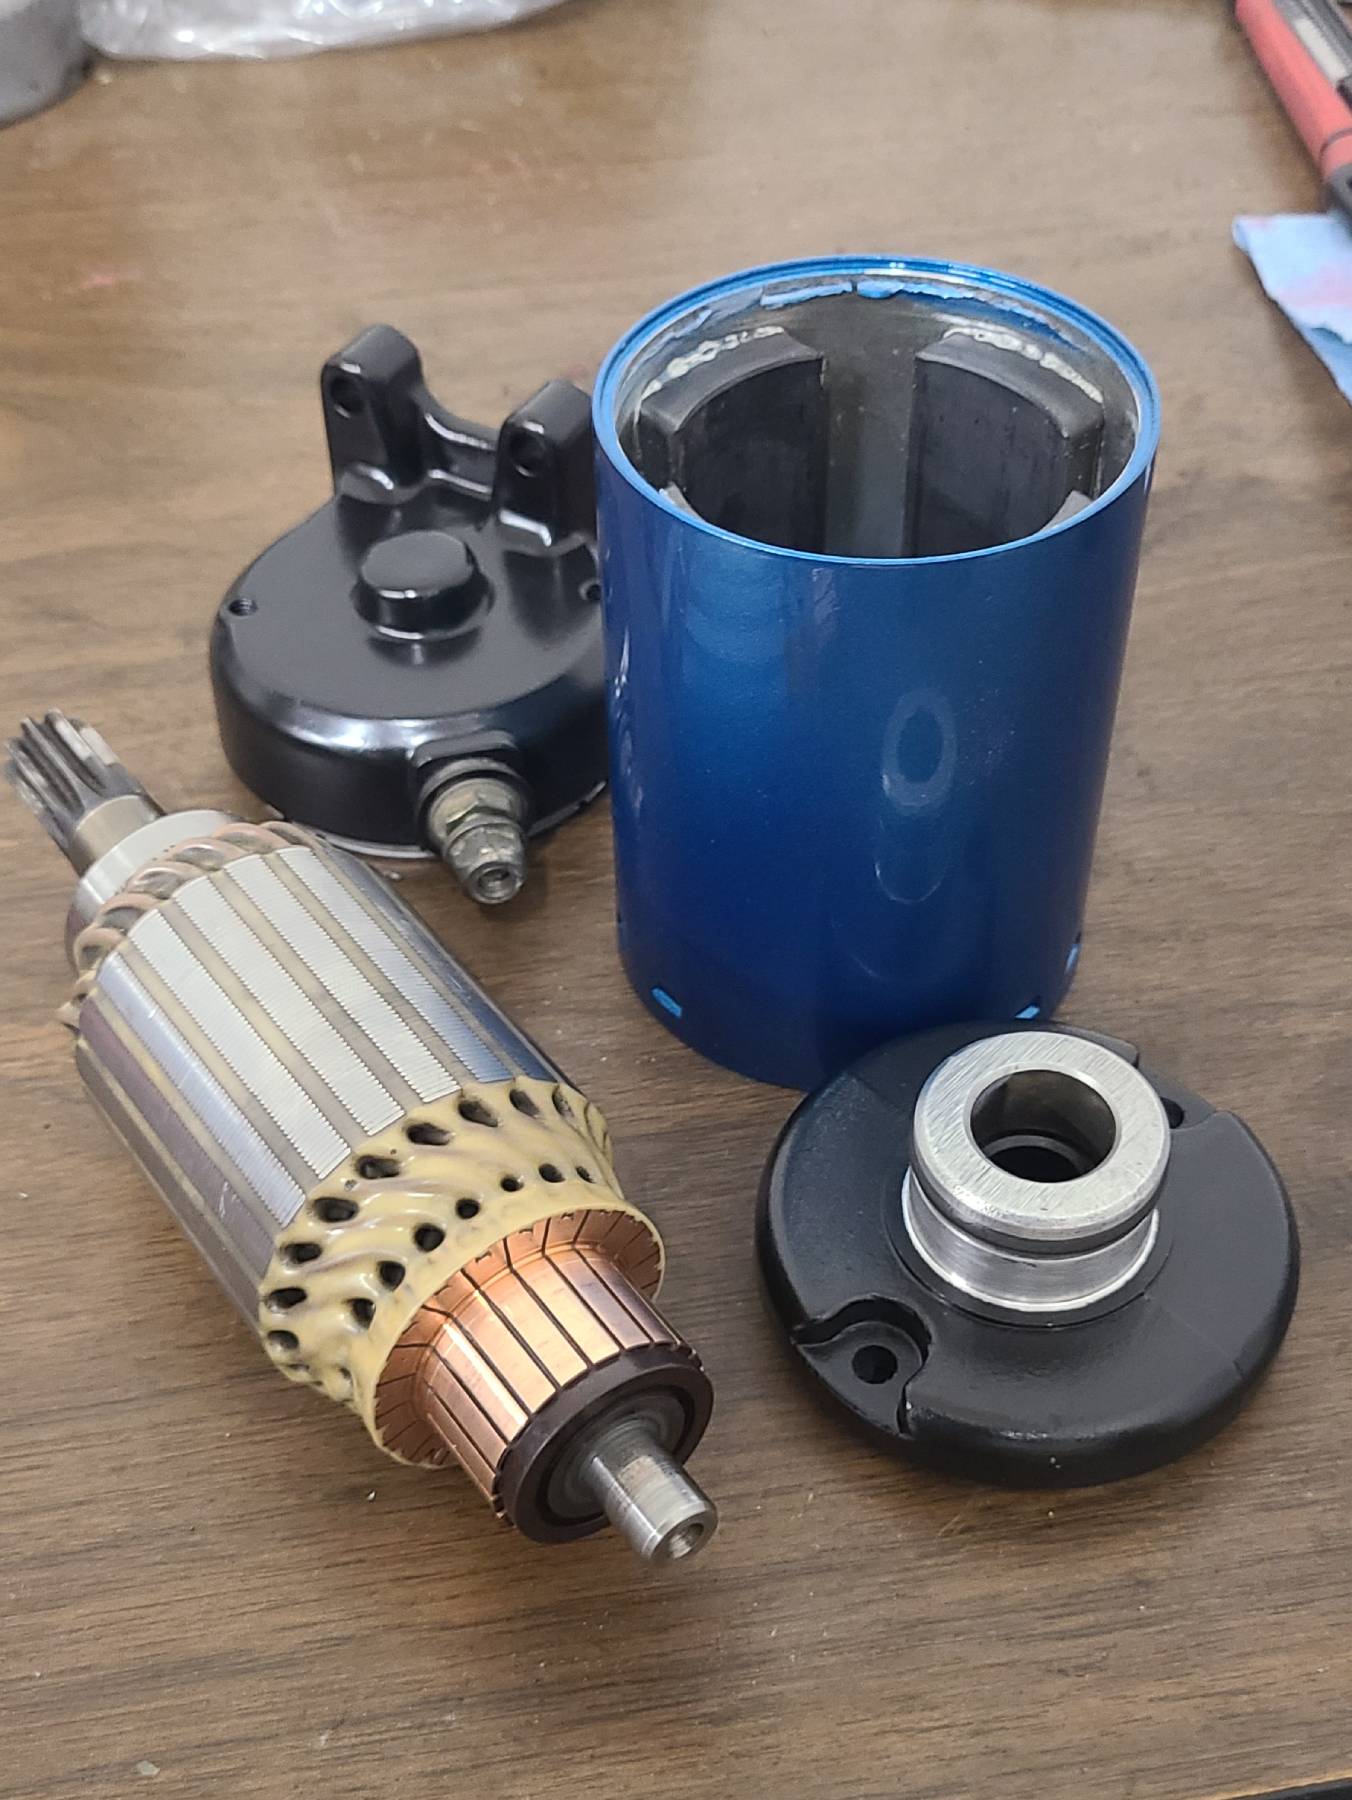
The challenge wasn't just making the parts fit. They needed to work together and look like they belonged on the same motorcycle.
Making sense of the wiring
The original electrical system was more than thirty years old. A Motogadget M-Unit Blue could remove some bulk, but it couldn't make the decisions for me.
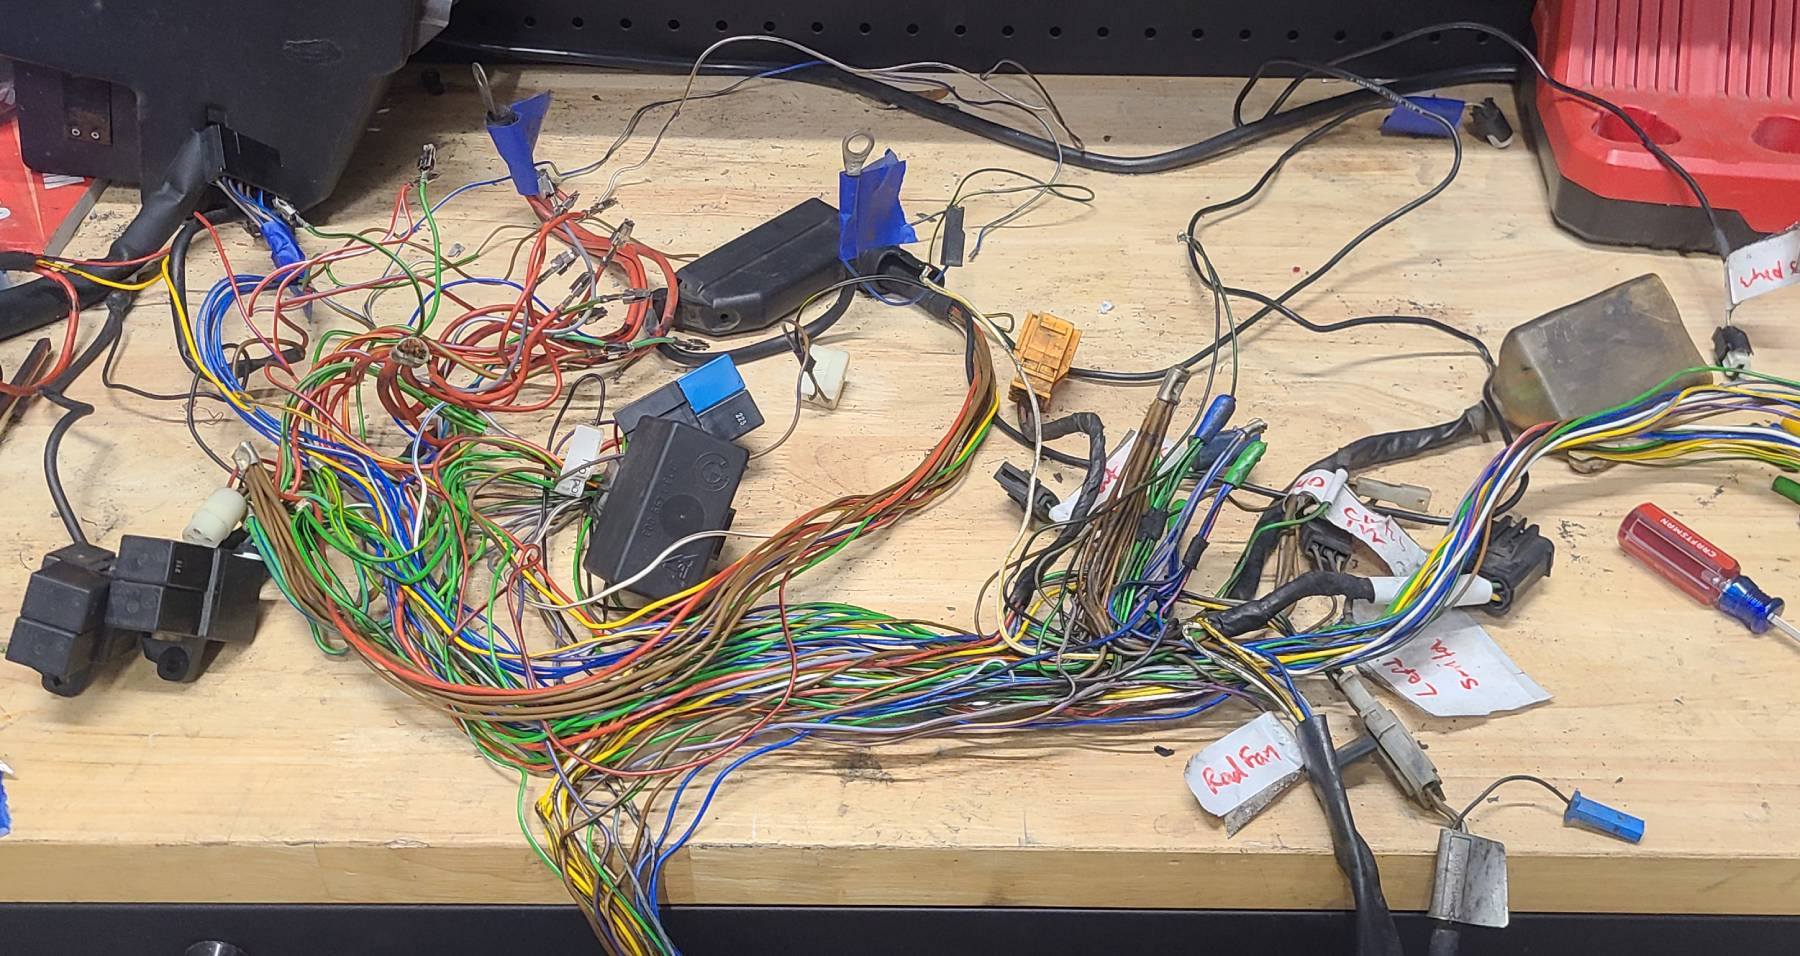
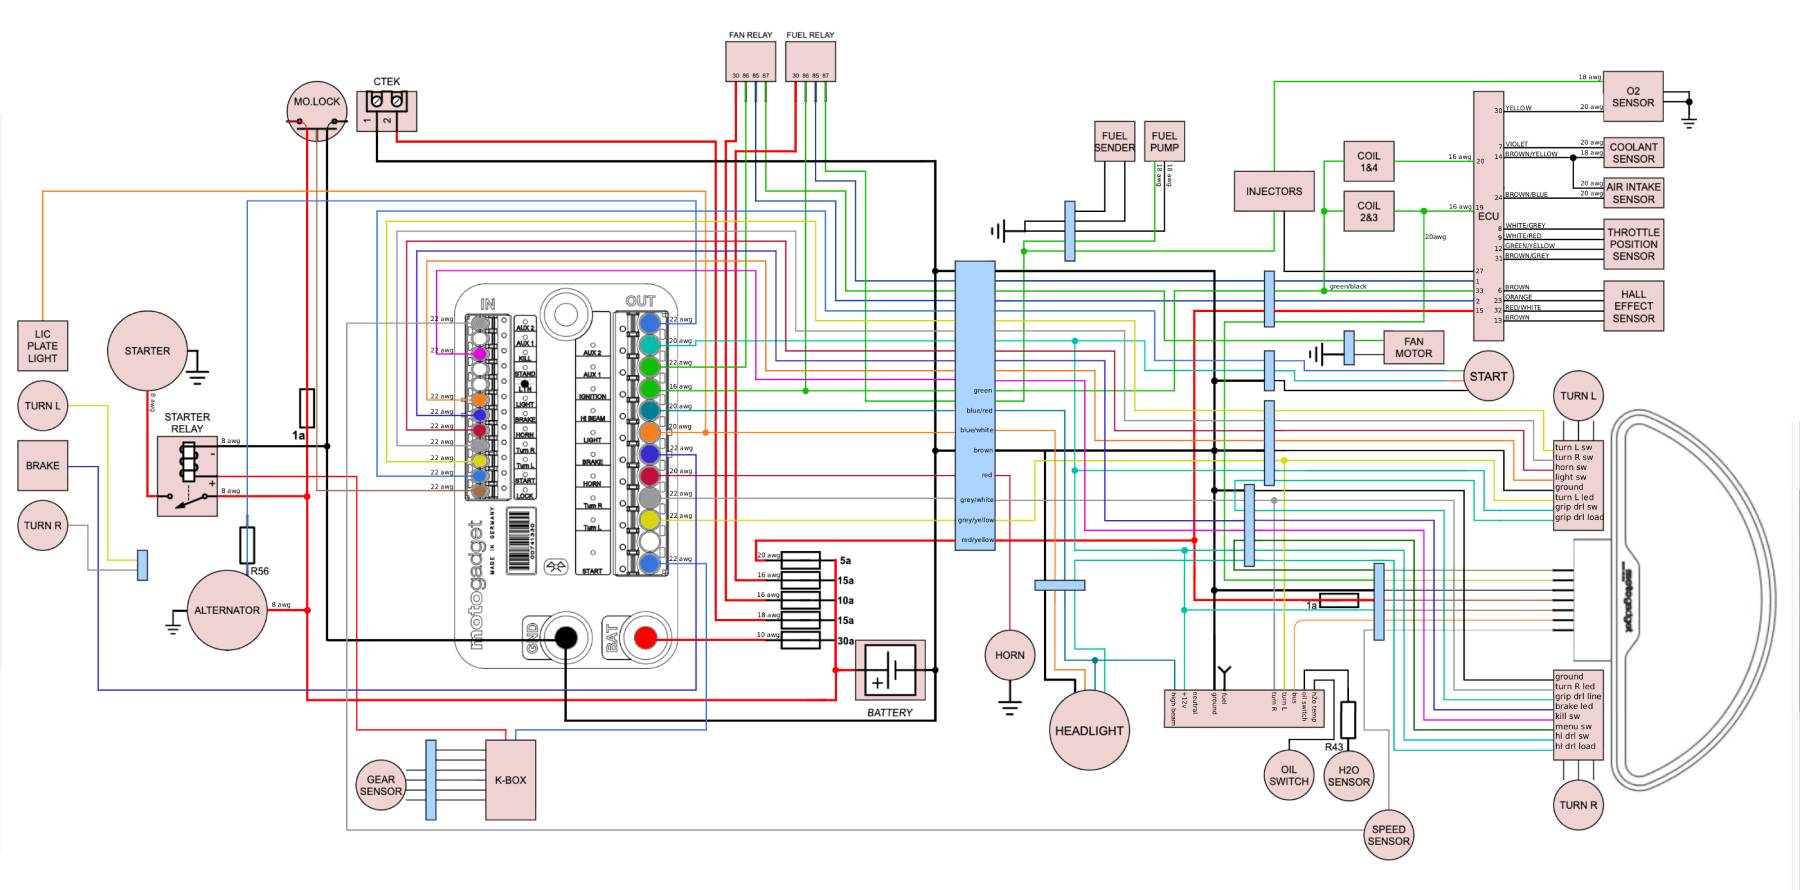
Rather than cut away everything I didn't recognize, I laid the harness out on the bench and worked through the connections. I mapped the ECU, lighting, controls, fan, charging system, and gauges, then considered where each component would physically live. Serviceability mattered too. A cleaner harness wouldn't help much if I couldn't troubleshoot it later.
That planning mattered when I started depinning the ECU connector and shortening wires. There wasn't much room for guessing: once a wire was too short, optimism wasn't going to make it longer.
I drew a complete schematic so the system would be understandable before and after installation, not just electrically connected. Other builders, including ditstang, shared work that helped me get there. Their experience was part of the process, and the diagram is the record of how I made the pieces fit together.
Improvisation has limits
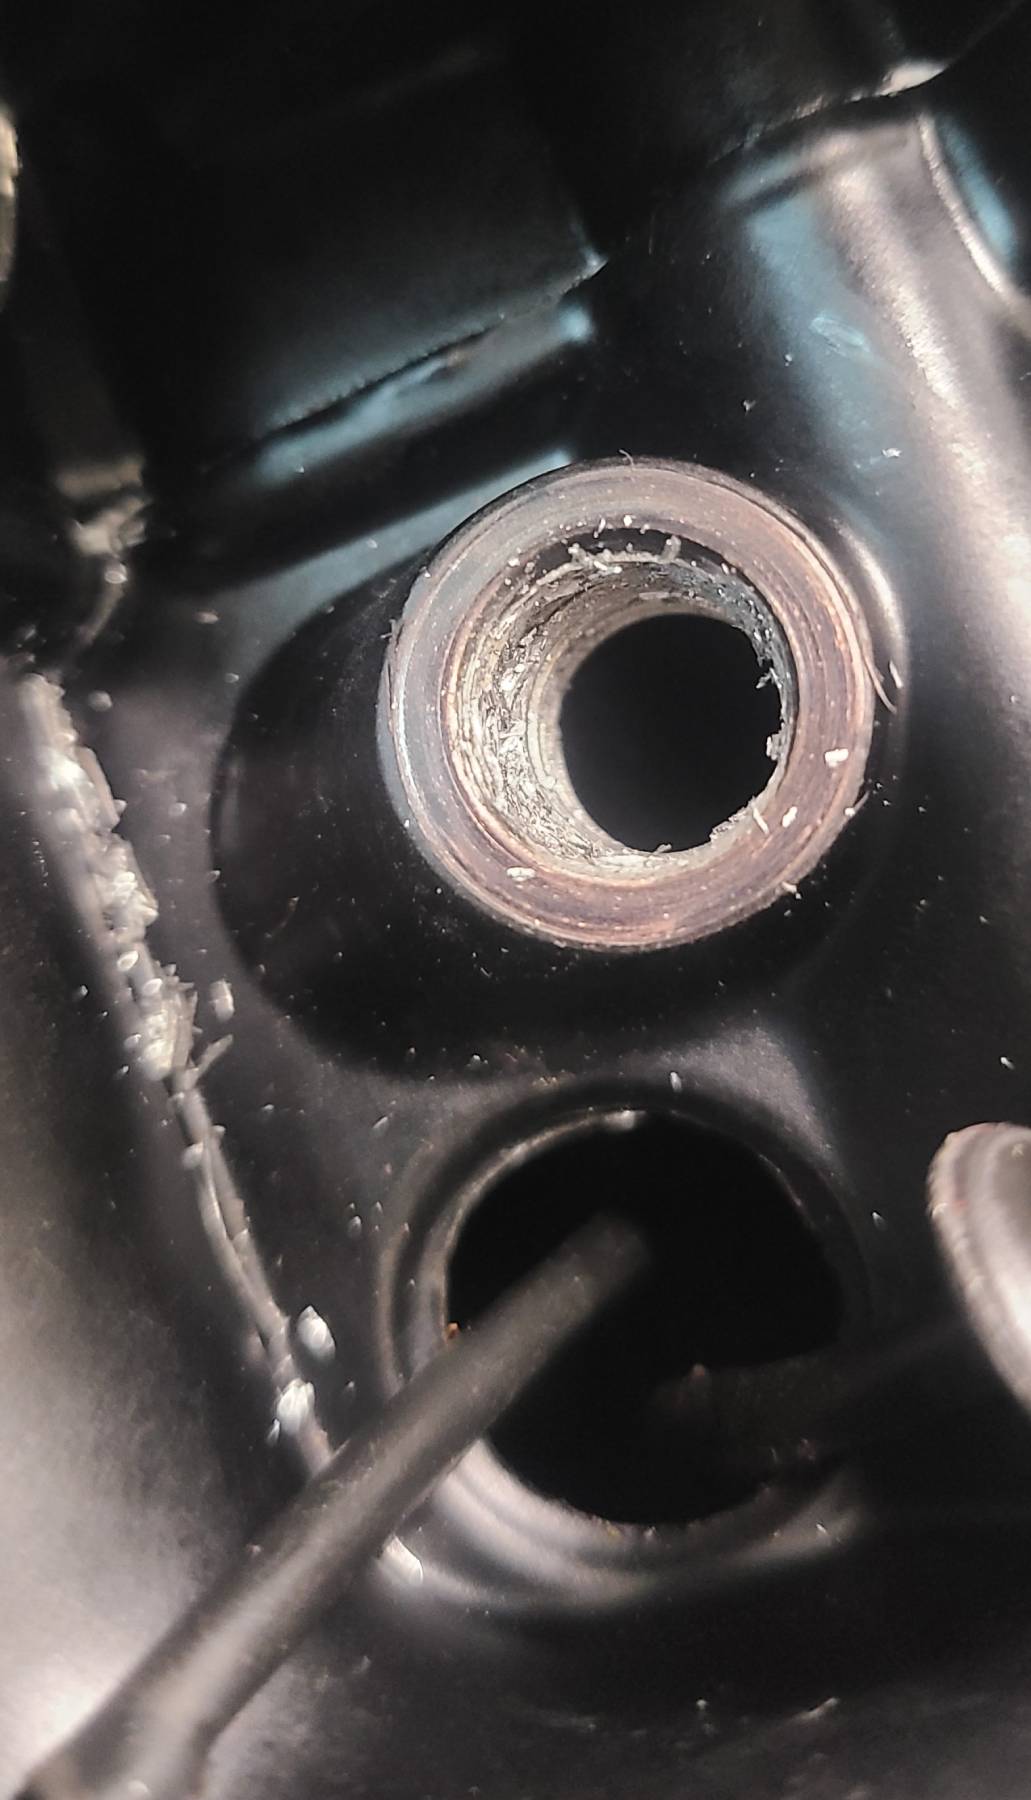
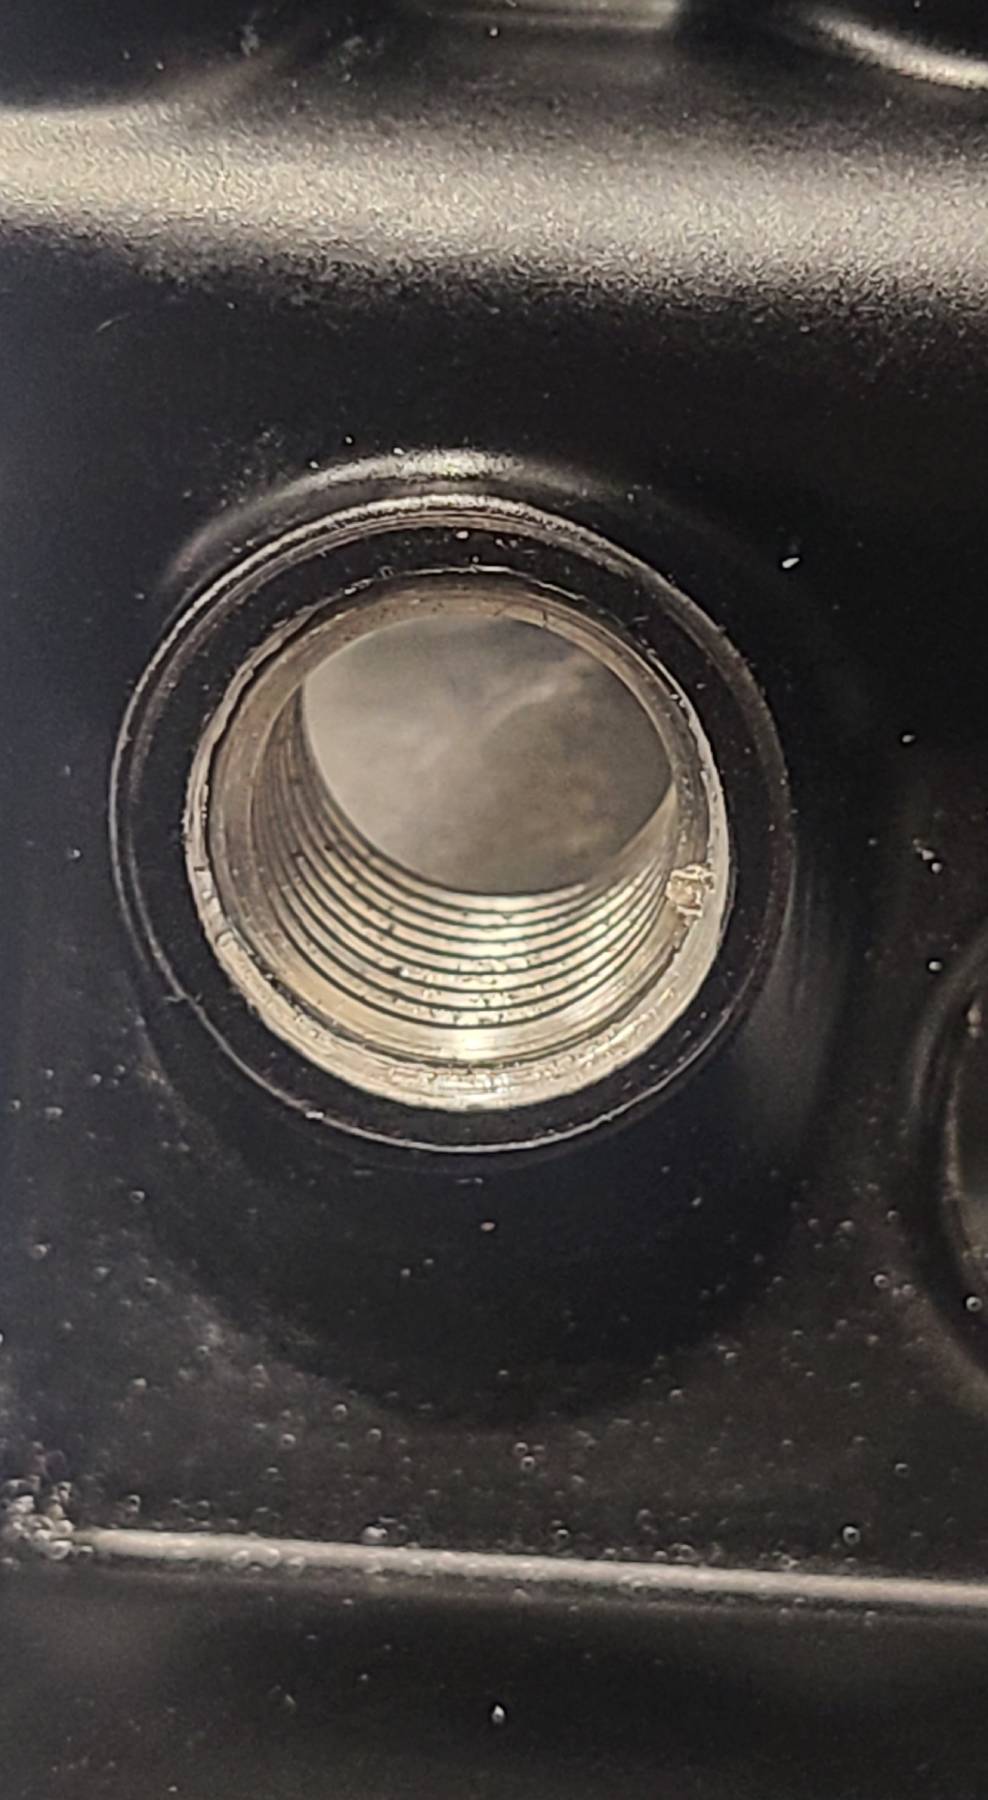
The water pump offered a more direct lesson. I didn't own the specialty tool needed to press its components together, so I used sockets and a soft mallet. It appeared to work.
Then I overtightened a drain plug. Off came the pump so I could drill out the damaged threads and install my first Helicoil. The repair held. Unfortunately, the cooling system still failed its pressure test.
The pressure test told me my improvised assembly hadn't worked after all. I ordered the proper tool, removed the pump for the third time, replaced the damaged component, and rebuilt it again. The test, not the fact that I'd managed to assemble it, was what told me whether the repair was finished.
This time, everything held pressure. Including me.
Knowing when not to prove a point
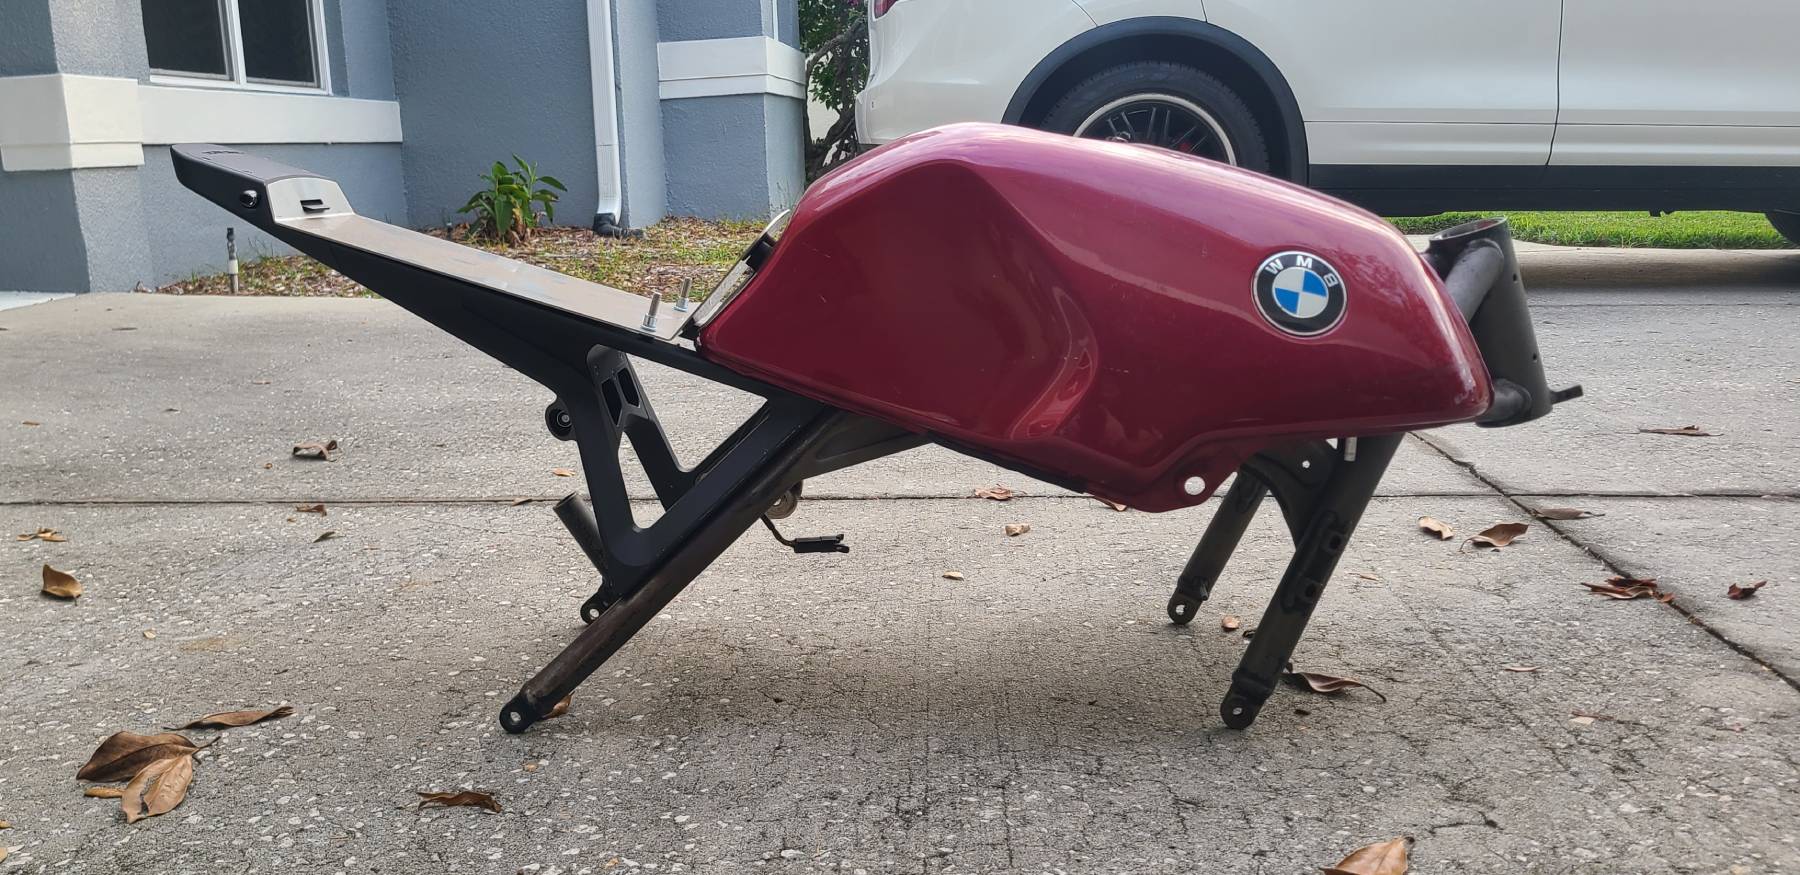
The PowerBrick subframe required cutting away the original rear section of the frame. I researched it, stripped the bike, made the cut, and test-fitted the new assembly.
I had to decide where doing it myself stopped being the sensible option. I'm learning to weld, but the rear subframe is structural and this is a motorcycle I intend to ride. I did the research, cutting, and test fitting, then had a professional handle the final weld. I also used specialists for paint and powder coating. Those weren't parts of the project where proving a point mattered more than the outcome.
Blockhead
The original engine block came back from the machine shop, but the bore measurements weren't right. The K1100 uses plated cylinder bores, so I didn't want to accept it just because the machining was finished. I checked the measurements myself and compared what I found with the specifications. That block wasn't going back in the motorcycle.
The shop owner apologized, refunded the work, and reimbursed the replacement block. I appreciated how he handled it. Measuring and questioning the result had saved me from assembling an engine around a problem I already knew about.
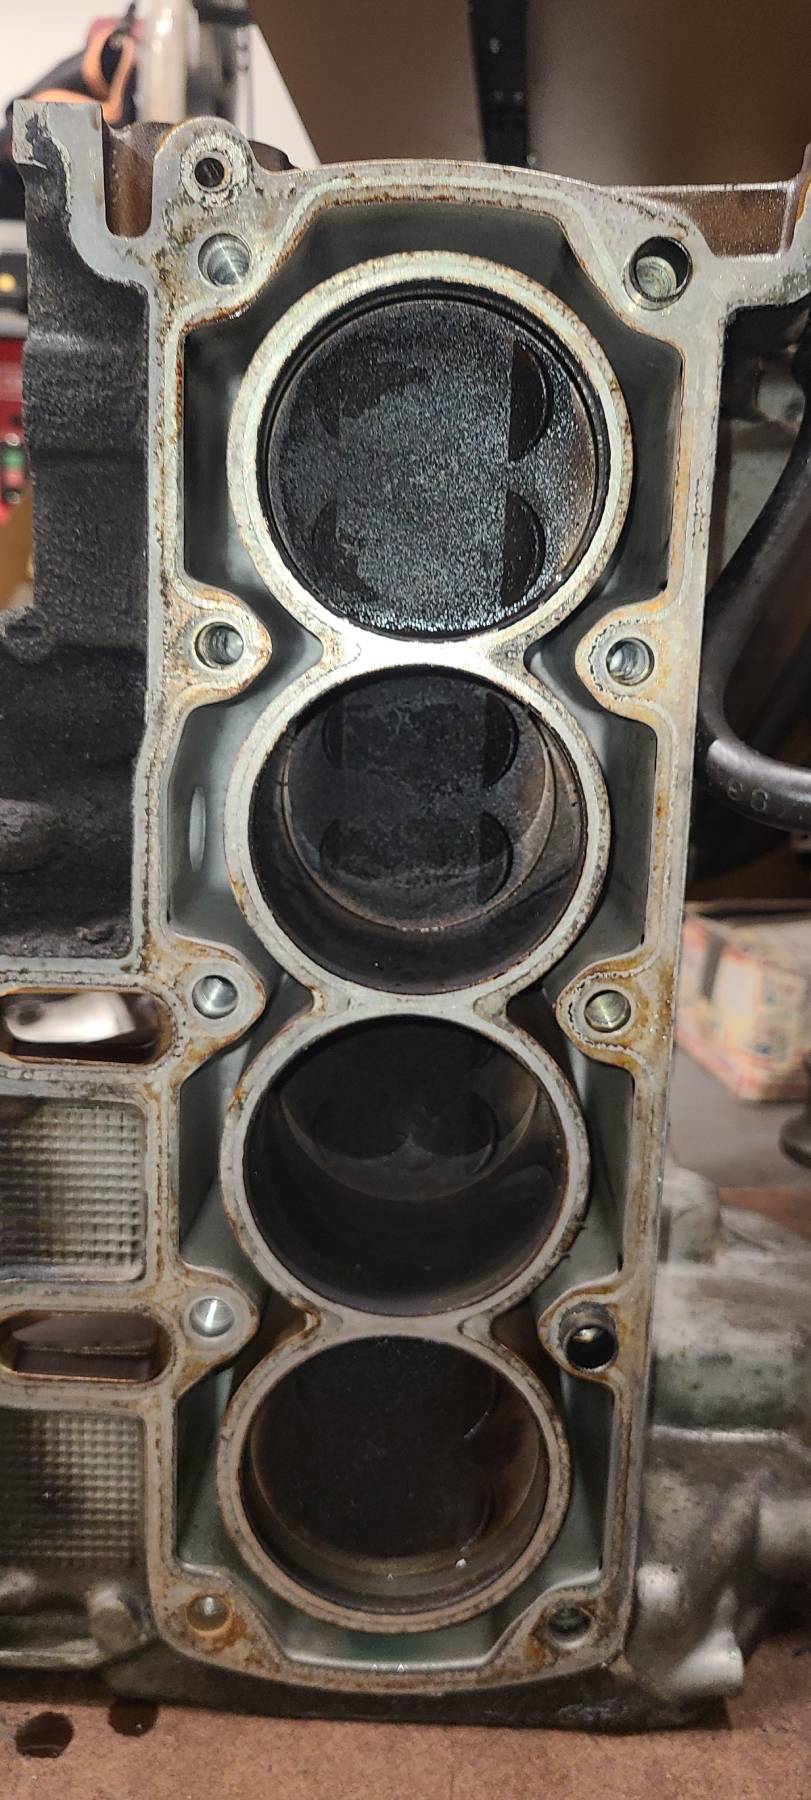
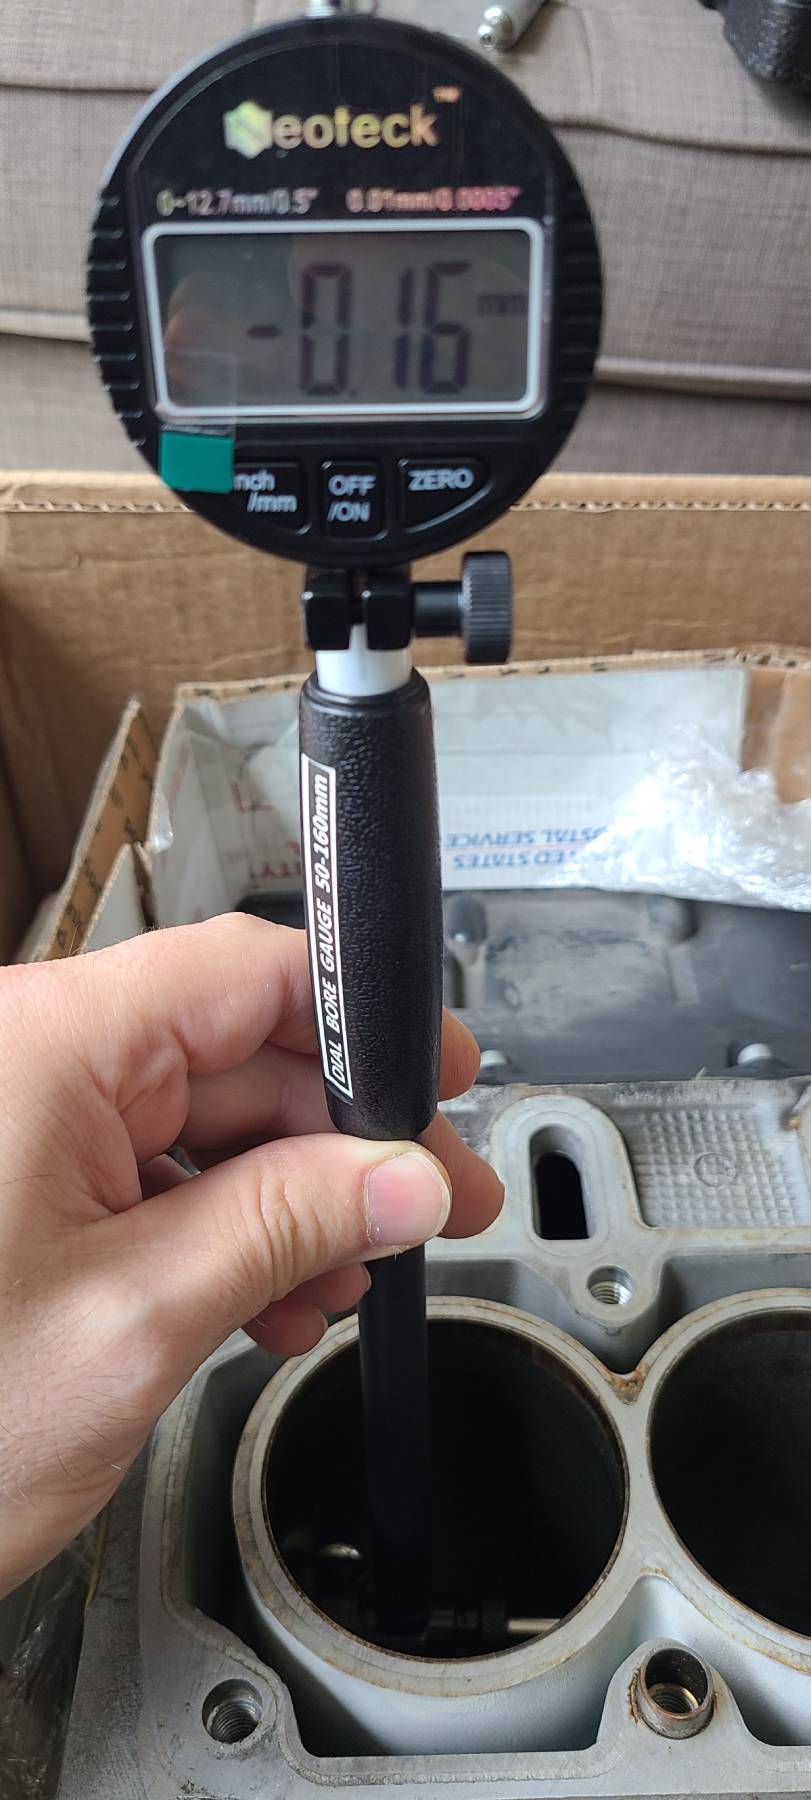
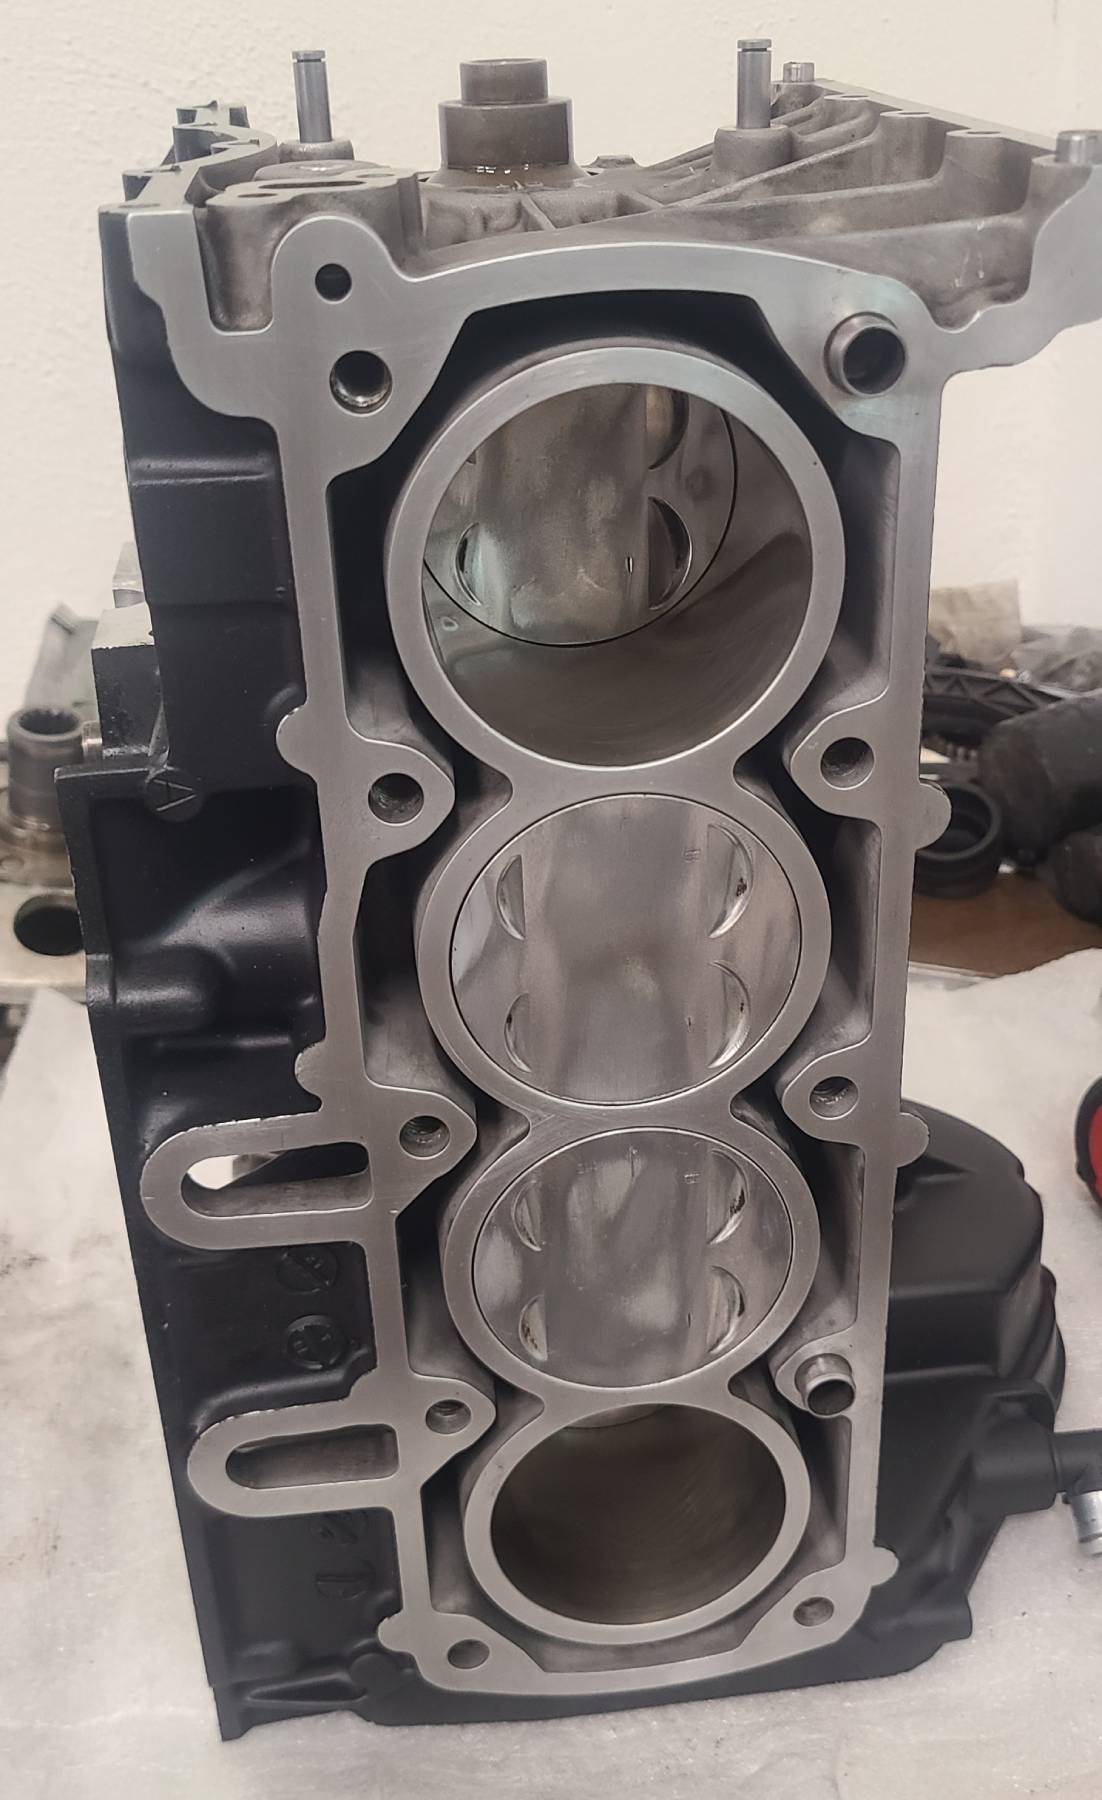
I handled the replacement block preparation myself, then rebuilt the engine with new rings, seals, bearings, timing components, gaskets, and the work needed to bring the valve clearances back into specification.
Piece by piece, it started looking less like an expensive collection of labeled bags and more like an engine again.
Throttle Body Rehab
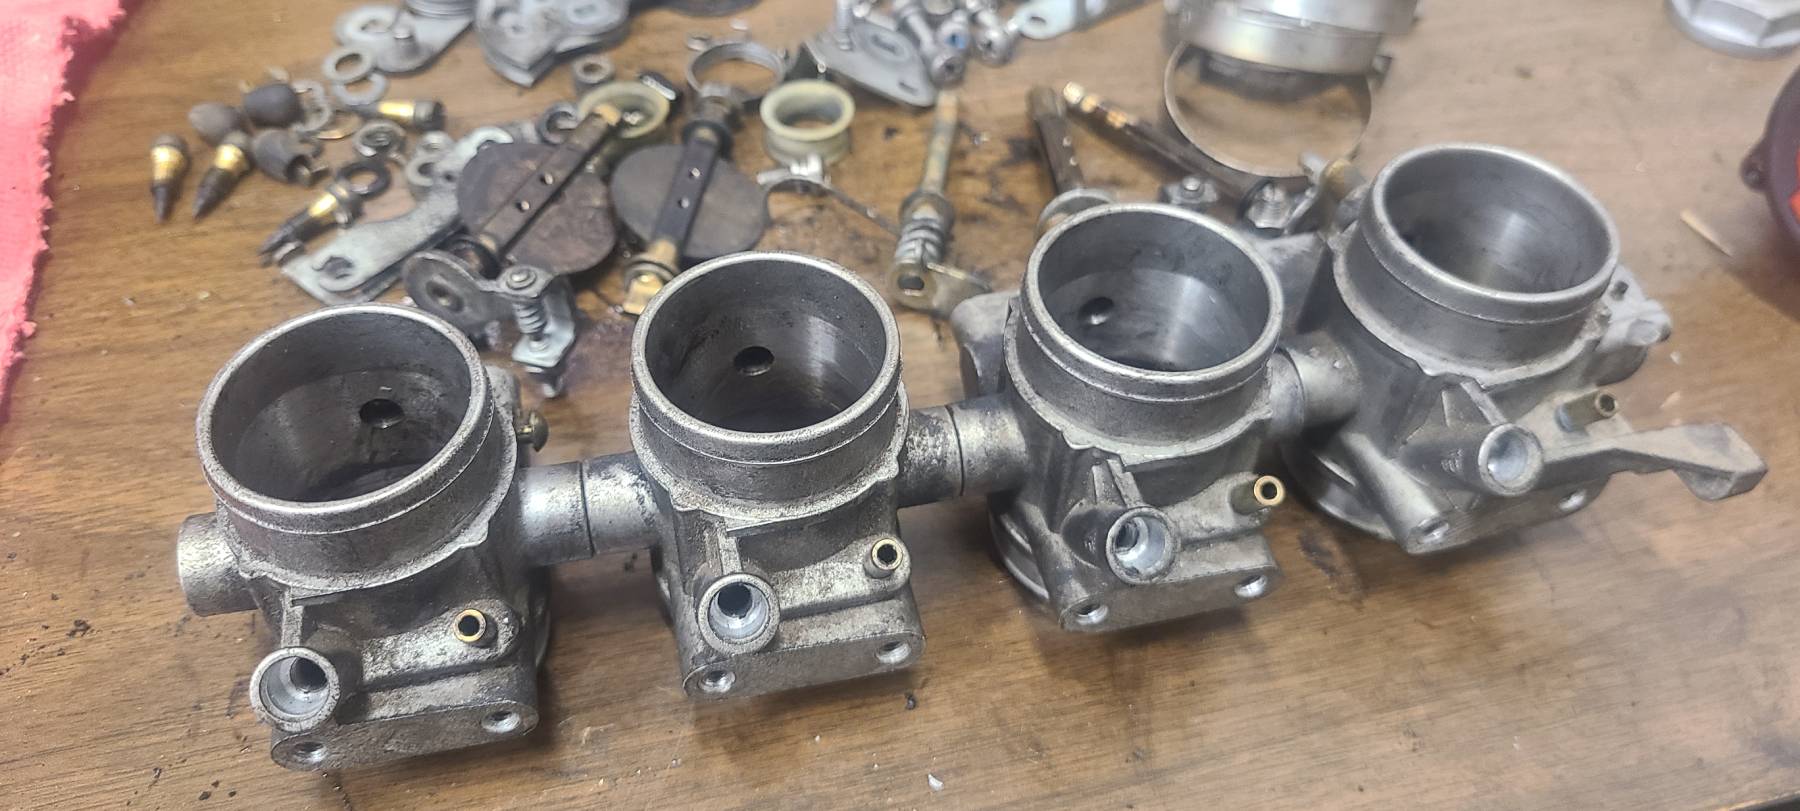
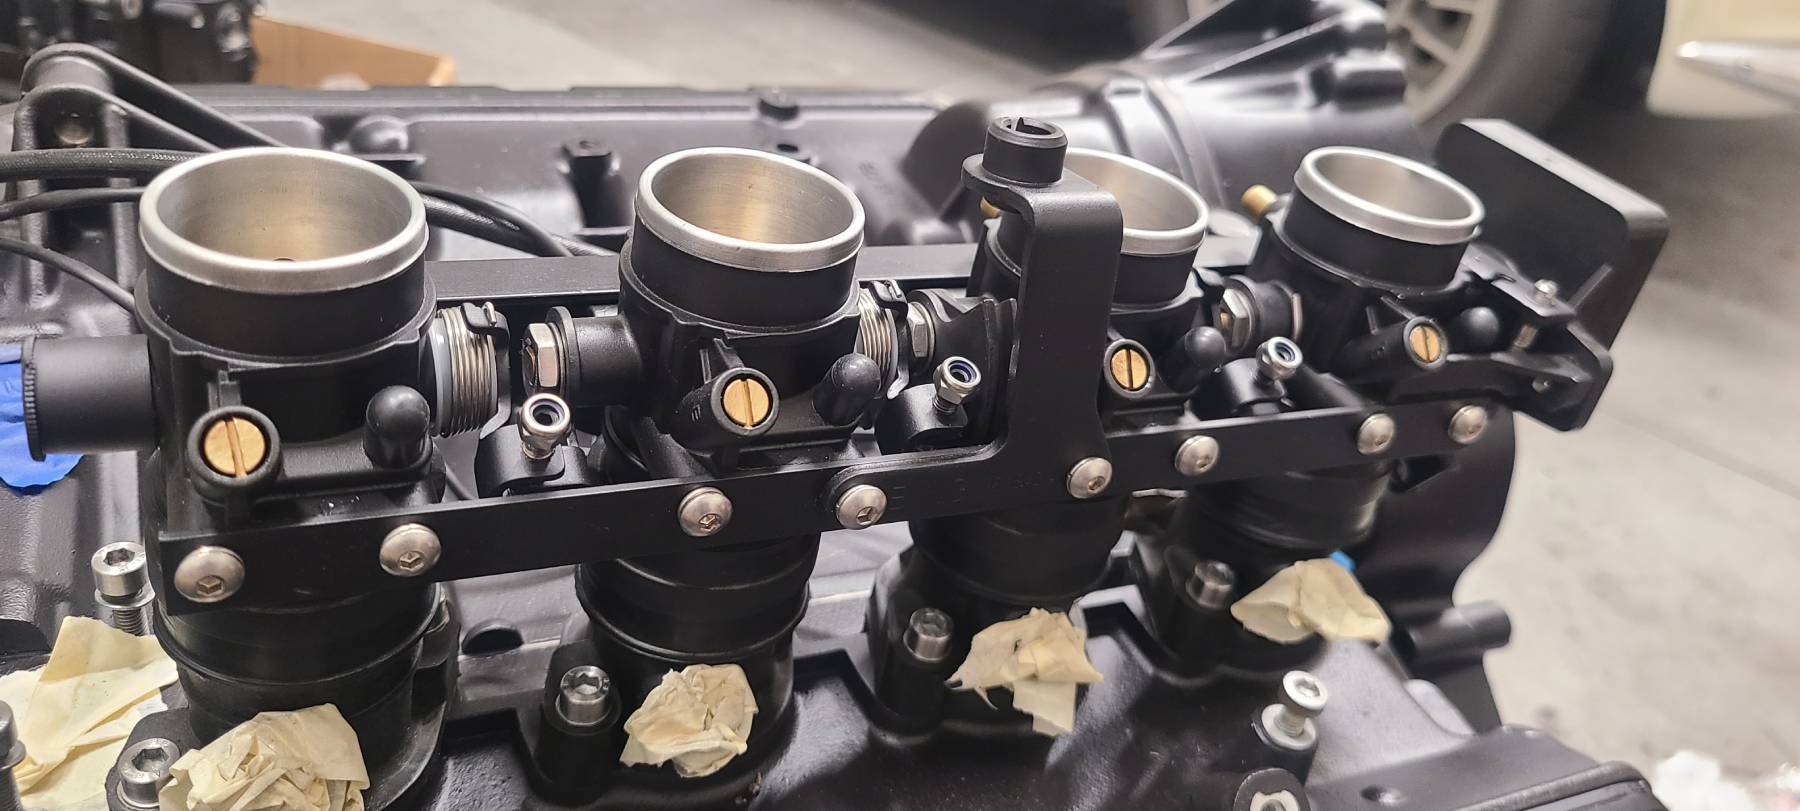
The throttle bodies needed attention too. I stripped them, cleaned everything up, and rebuilt the assembly. At one point I managed to damage a butterfly fastener because I hadn't read the instructions closely enough to notice that one of the threads was reversed. That was a memorable way to learn.
I also changed the fuel setup, using a K1200 fuel rail and R1150 regulator. That meant making sure the refreshed throttle-body assembly worked with parts from other BMWs rather than merely looking cleaner. Other builders had already explored some of these combinations, and ditstang was especially helpful.
It starts resembling a motorcycle
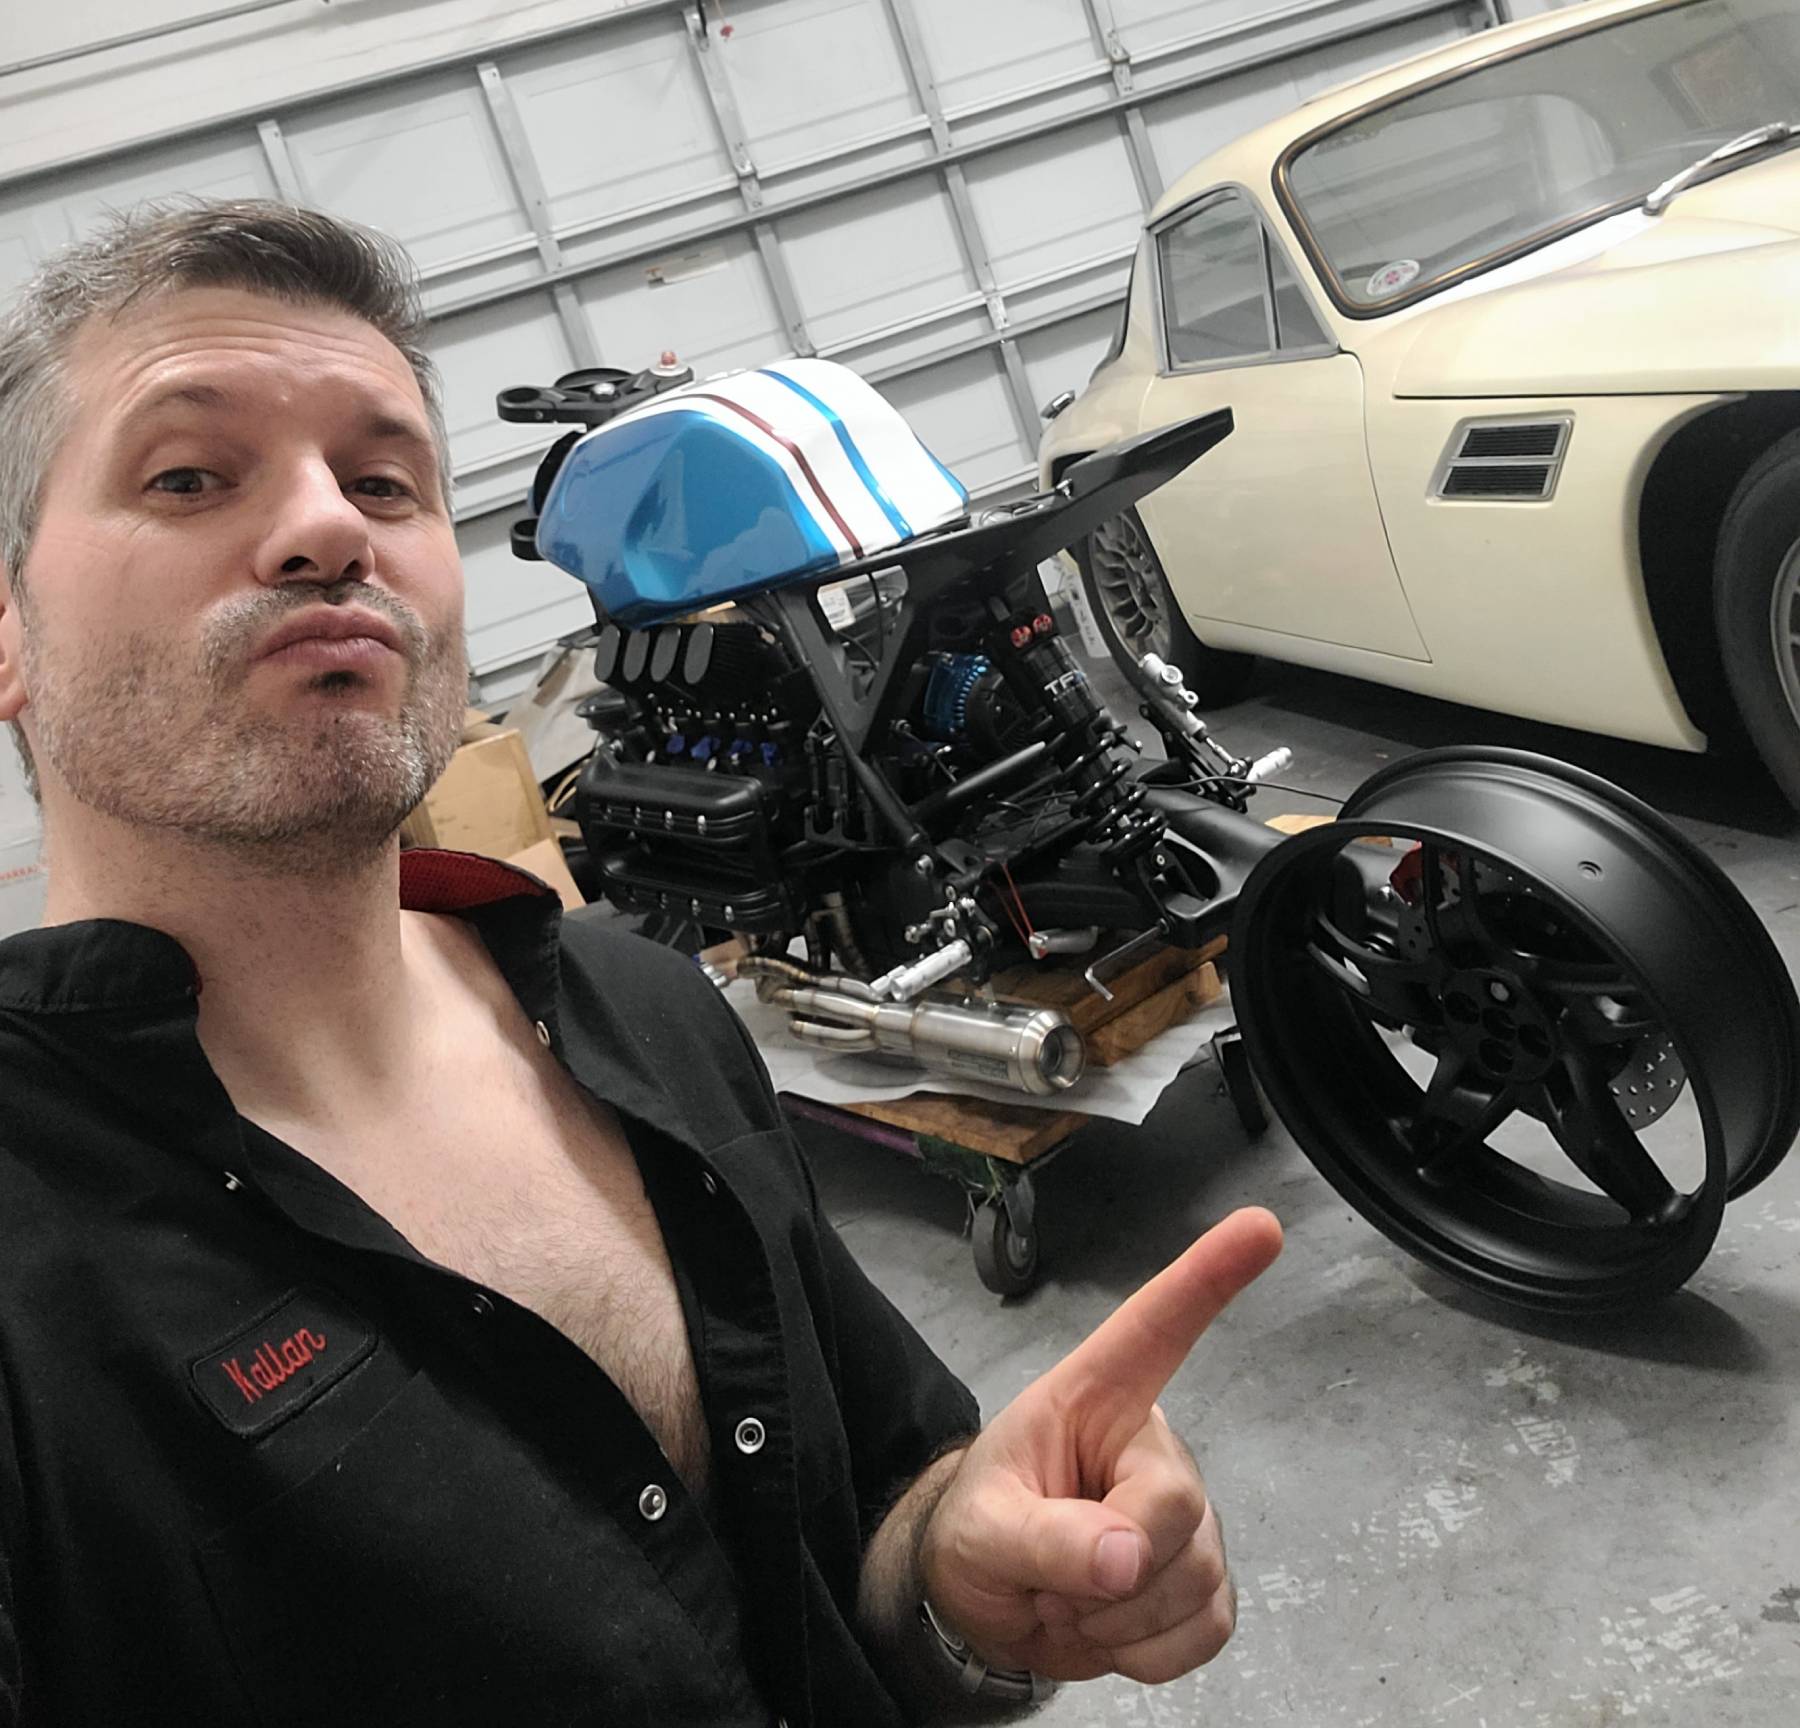
For a long time, progress looked like cleaned hardware, rebuilt assemblies, wiring diagrams, and boxes returning from powder coating. Then the big pieces began going back together: front end, wheels, swingarm, tank, seat, exhaust, controls, brakes, and painted bodywork.
BMW Snapper Rock Blue, burgundy details, and the new seat brought the visual side of the build together. My wife even found a ring that happened to match the paint remarkably well.
It's close now, with fluids, throttle connections, adjustments, and the little things that somehow consume entire weekends still on the list.
It isn't finished yet. But I think I've finally graduated from holding the flashlight.